It’s all starting to come together.
Balloons were delivered on Monday, the parachute[s] came in last week, the radar reflector is assembled, the payload container has been finalized (it’s now a REALLY hard to miss blaze orange). Oh and we have the helium and built a regulator and filler nozzle. Everything we ‘need’ for a launch is here. It’s time to run through all the little checklists and dot some i’s and cross some t’s.

UPS delivered a +9lb box of 3 balloons to the door this week and they are only to be handled with rubber gloves; you don’t want to transfer oils from your hands and I’ve only unpacked one of them just enough to examine the filler neck. I’m including a photo below but I’m not sure if you can comprehend exactly how thick the neck is. It’s not quite ‘dog-chew-toy’ thick but it’s MUCH more resilliant than the rest of the balloon envelope.
The neck is designed to bare all the weight and it’s designed to be folded and twisted. It’s also designed to accept the helium and whatever nozzle you are going to fill it with. A super-thin neck that got pinched or twisted while there was 5-10psi of helium in the line would be catastrophic. We’ll avoid that risk by inserting the tip of the inflation nozzle deep into the filler neck, maybe even into the balloon itself.
The helium bottle is HUGE but it will fit in the back of Nissan Rogue. It’s an inert, mostly benign, noble gas; the cylinder just happens to be pressurized to 2000psi and weigh over 150(?) pounds. Pay attention to all handling instructions, lest you turn this thing into an angry missile in your back seat.
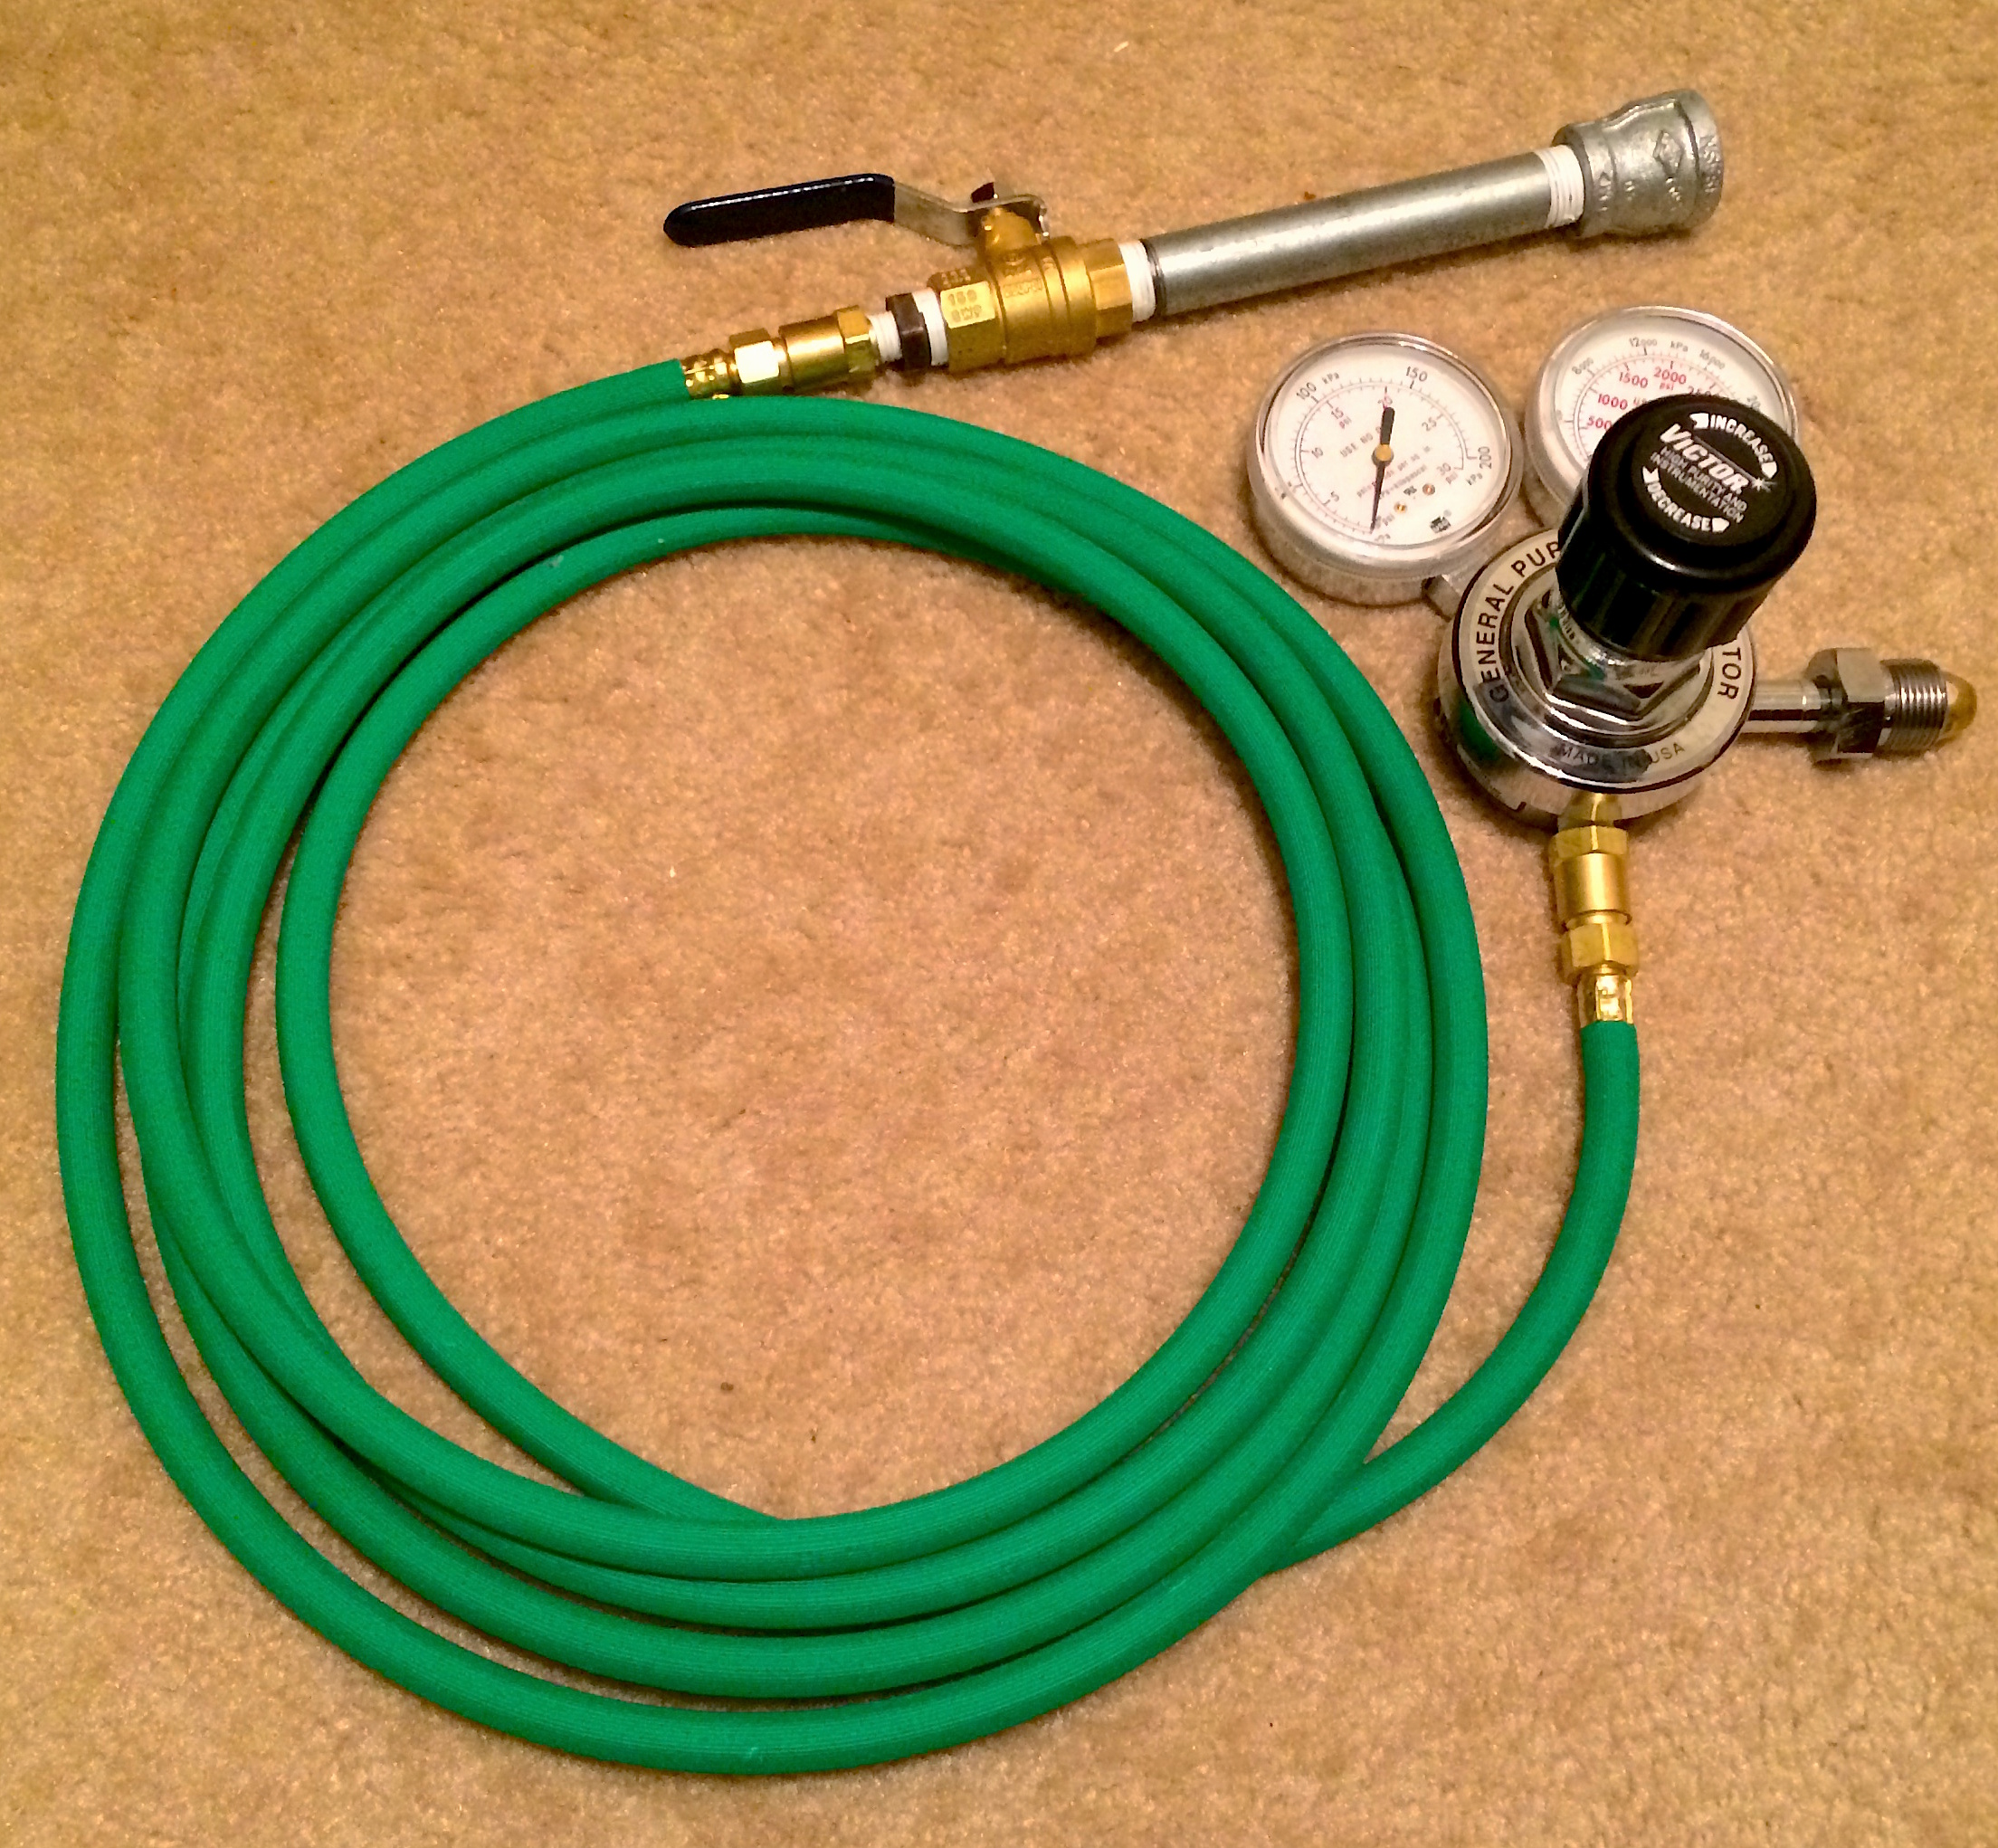
We spent the better part of an afternoon on Wednesday (before Thanksgiving) briefing with the local welding and gas supply company. I learn things quick but I was glad to have some expertise with me to establish procedures and we also got help building out 75% of the regulator and supply line. We made a trip to the plumbing aisle at the local home supply place after that.

I’m writing this post away from my notes but I’m mostly sure that’s a 15 foot long, 1/4″ line that we are stepping up to a 1/2 inch ball valve. We are feeding the balloon with a 6 inch long, 1/2″ stainless pipe with an additional 3/4 ‘bell’ on the end. The bell serves two purposes; we needed to cover that metal threading on the 6″ pipe and the OR (outside radius) almost perfectly fills the 3cm diameter balloon neck.
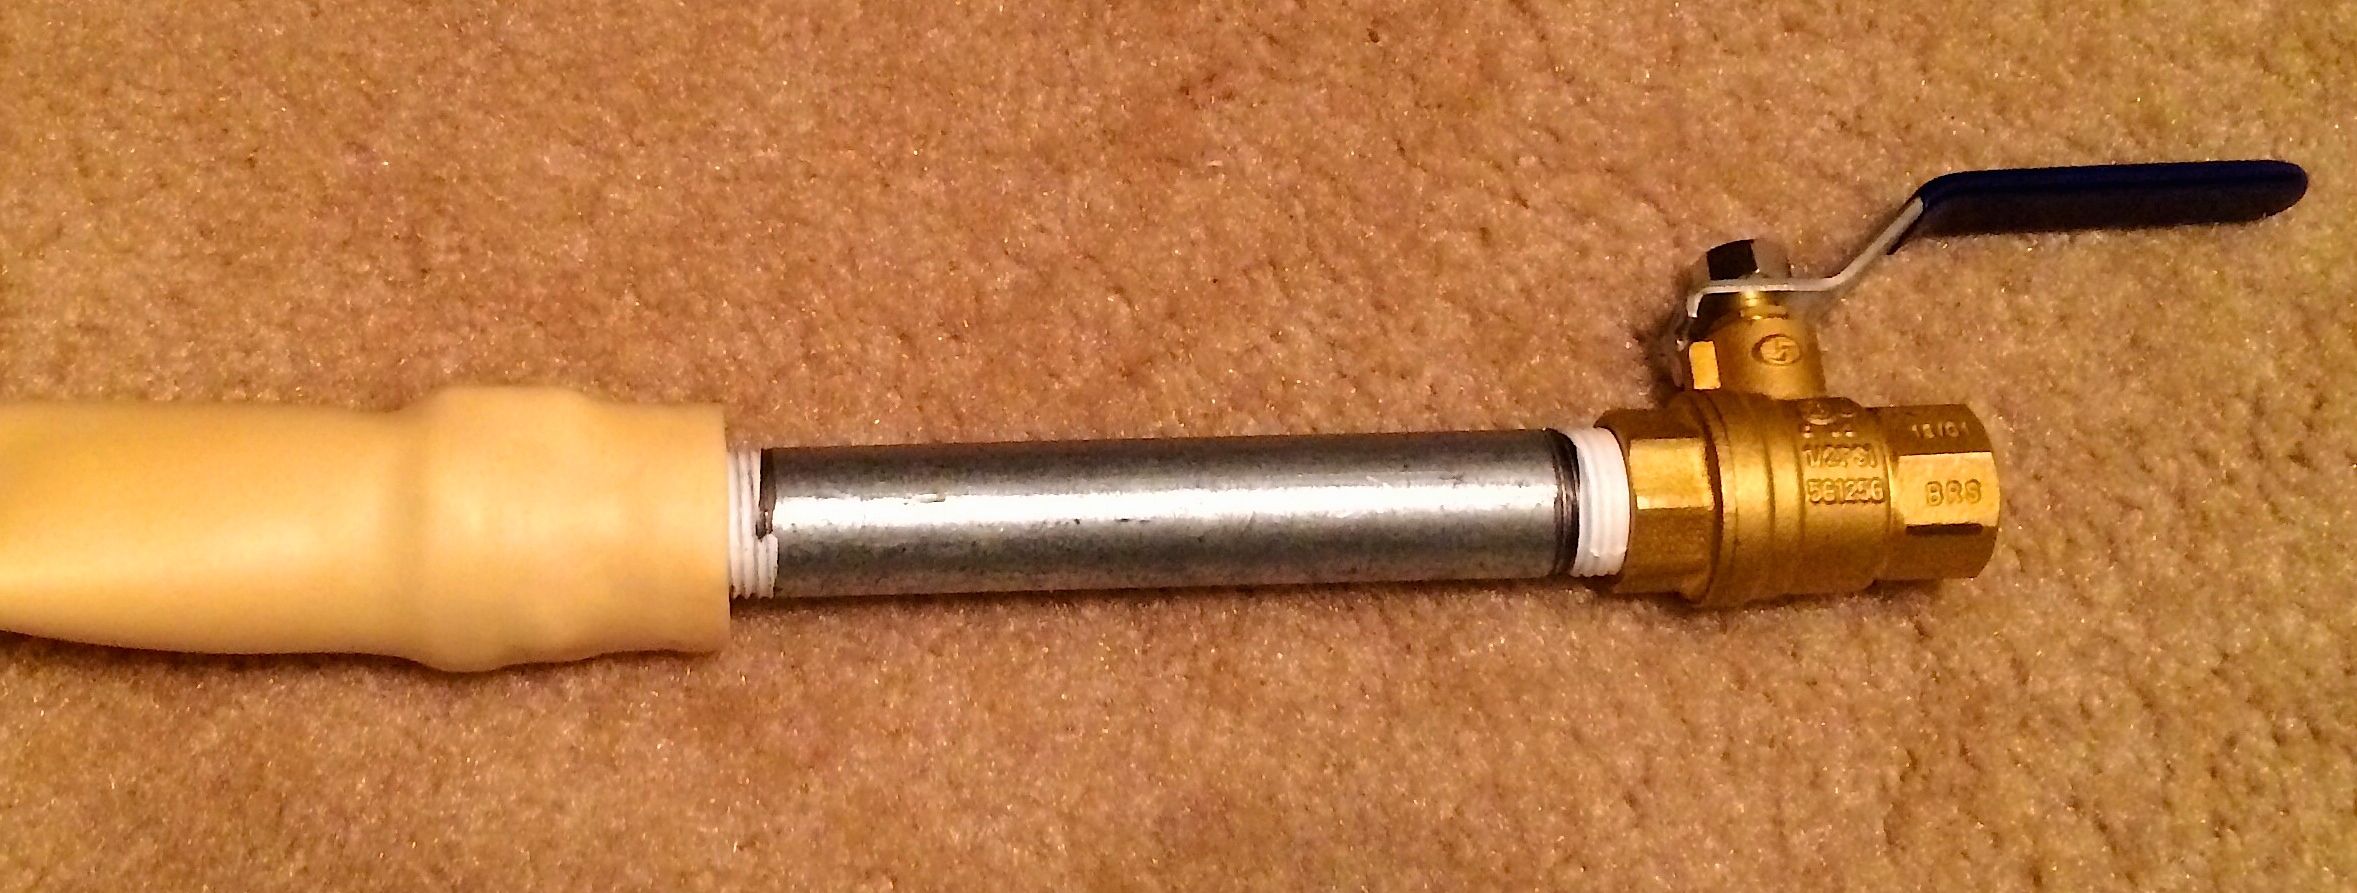
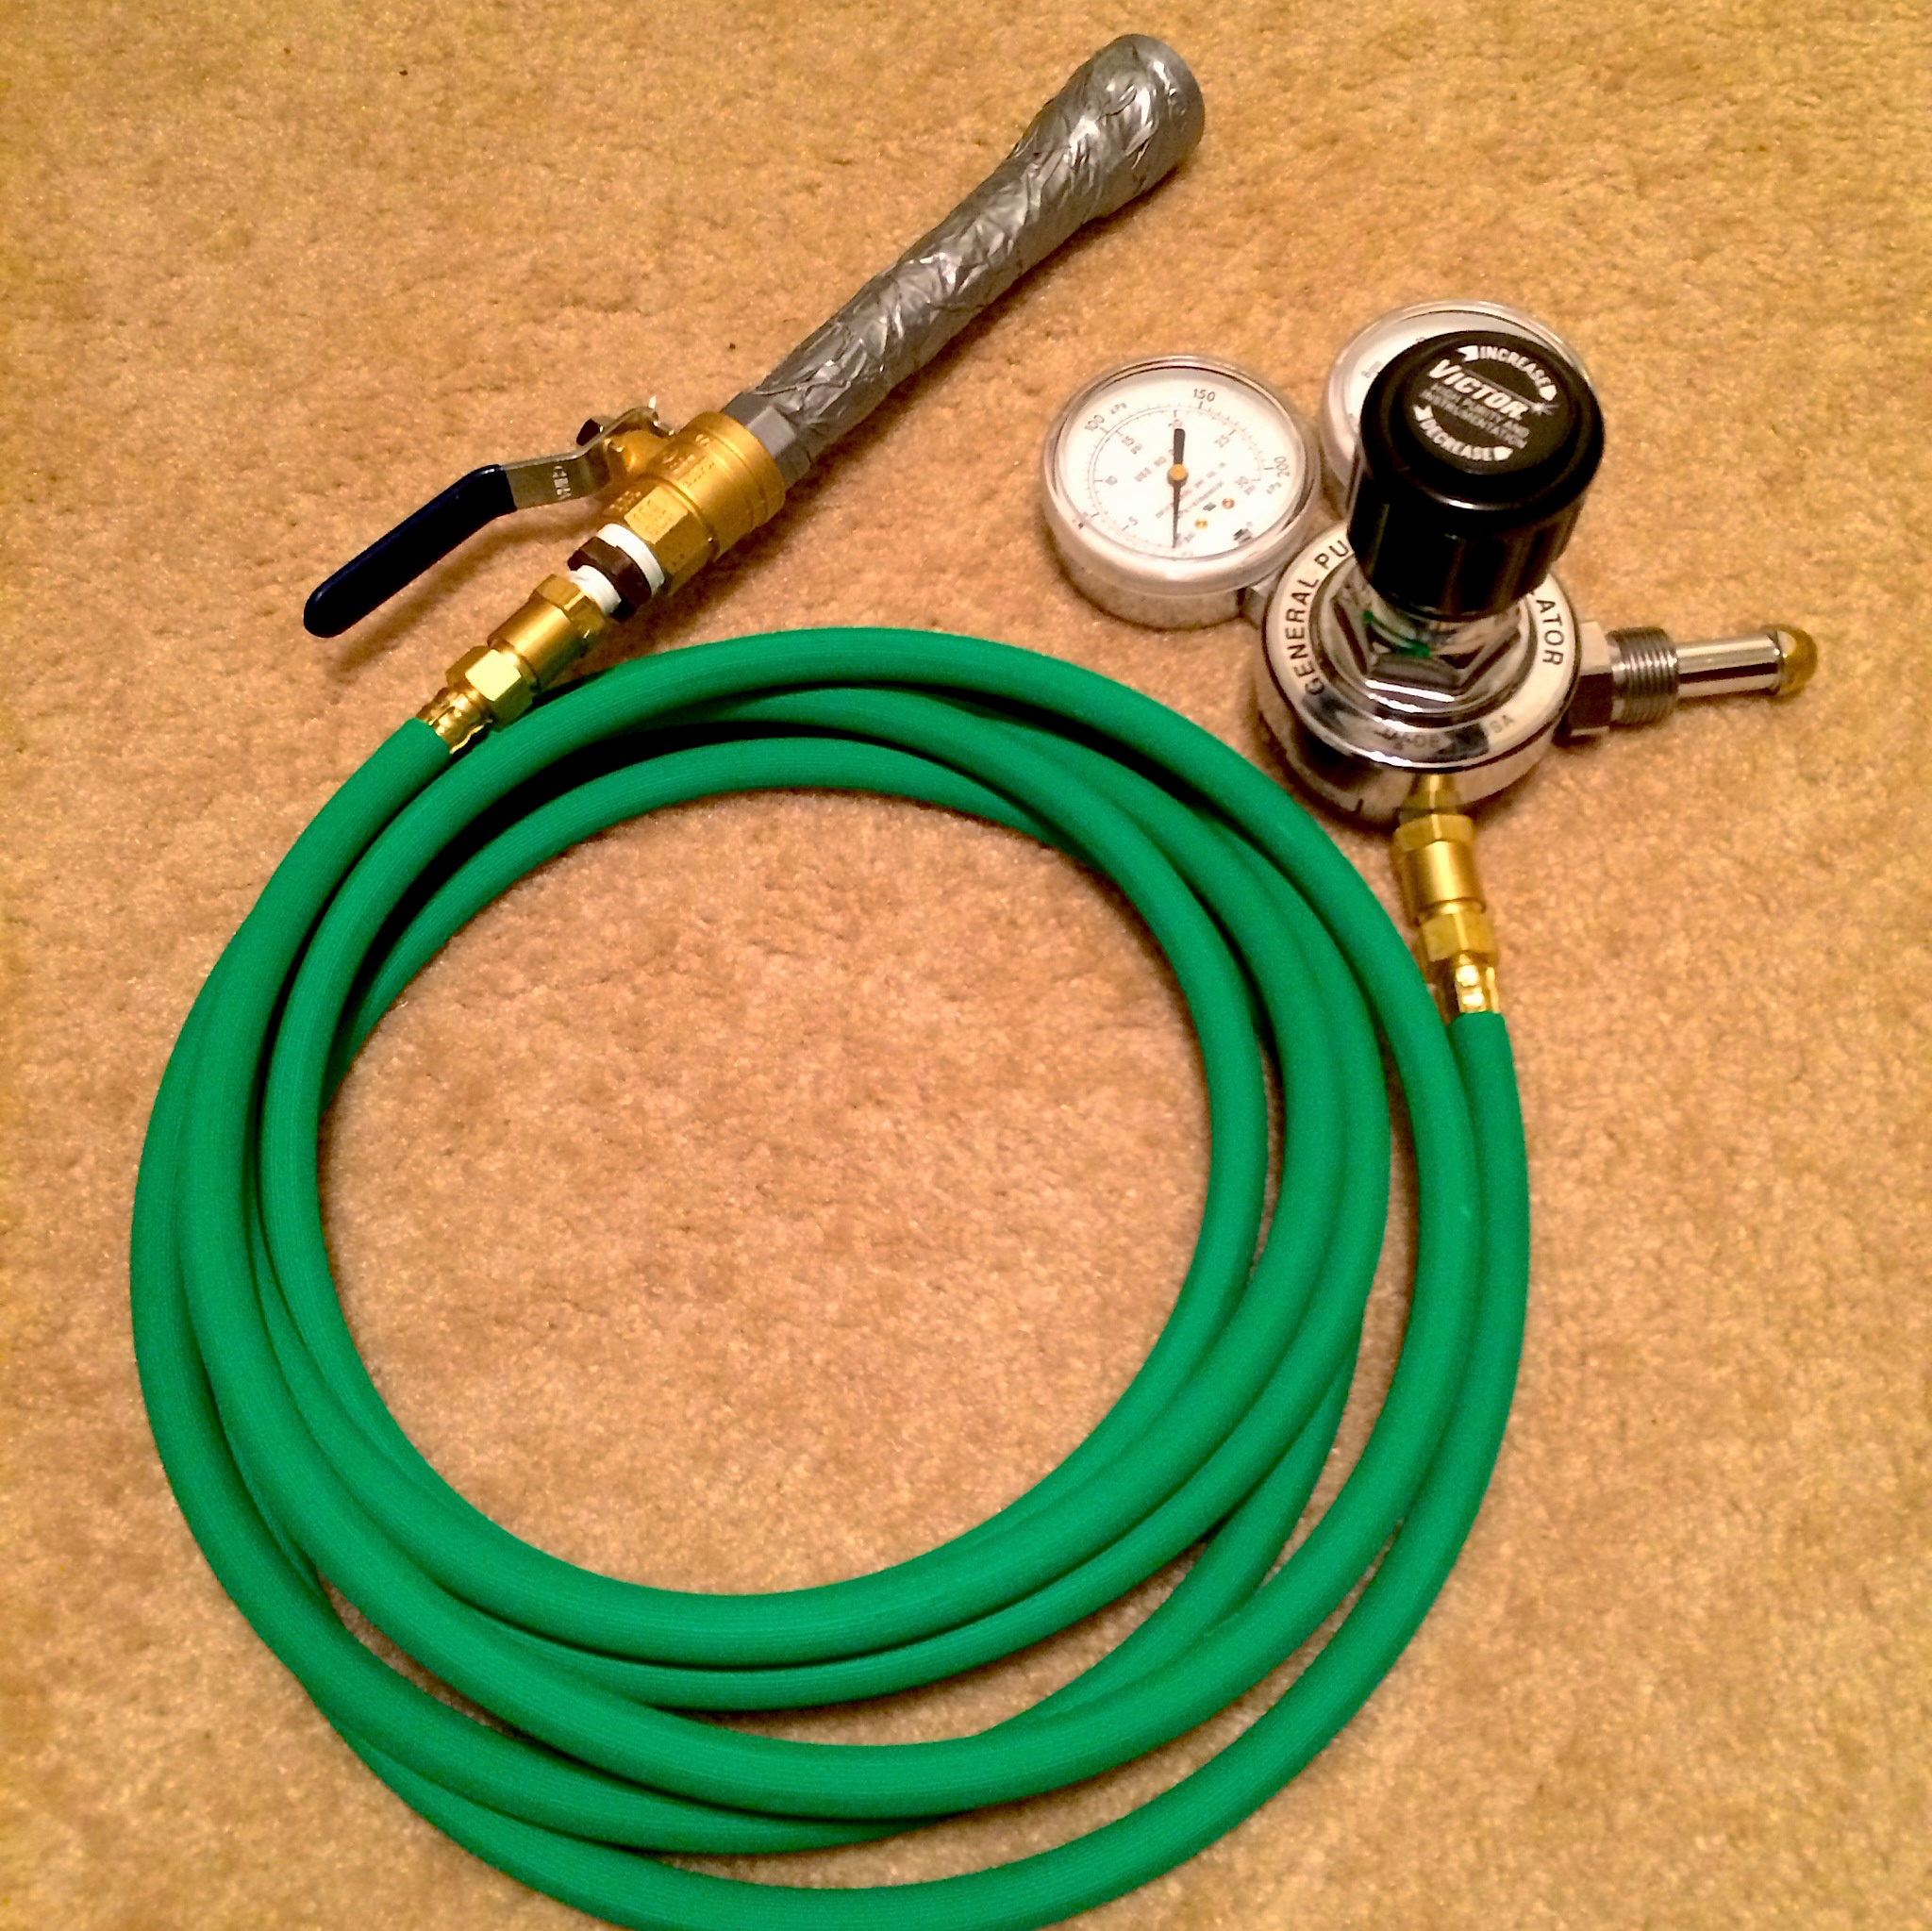
We can insert the 6″ stainless pipe deep into the filler neck to keep from kinking and potentially blowing out the neck with too much pressure. That length of pipe also give the person filling the balloon something to grip and hold on to while transitioning from horizontal (on a tarp) up to vertical as the balloon begins lifting itself. In the event we apply some kind of clamping pressure to the the filler neck, the 3/4″ bell acts as a good seal to keep the helium in the balloon.
The final nozzle form included a little duct tape to ease the transition from 1/2″ to 3/4″ bell, plus the increased radius and area gave the balloon neck more surface area to grip while protecting us from any sharp burrs that might have been left on the bare metal.
I got home and ran the regulator down to 1-2psi just to make sure everything worked. I floated to sandwich baggies in the garage and I’ve resisted all temptation to do the squeaky voice thing. There’s a limited supply, I don’t want to be wasteful and it’s probably safer not to rob myself of oxygen.